Writing and sending short messages
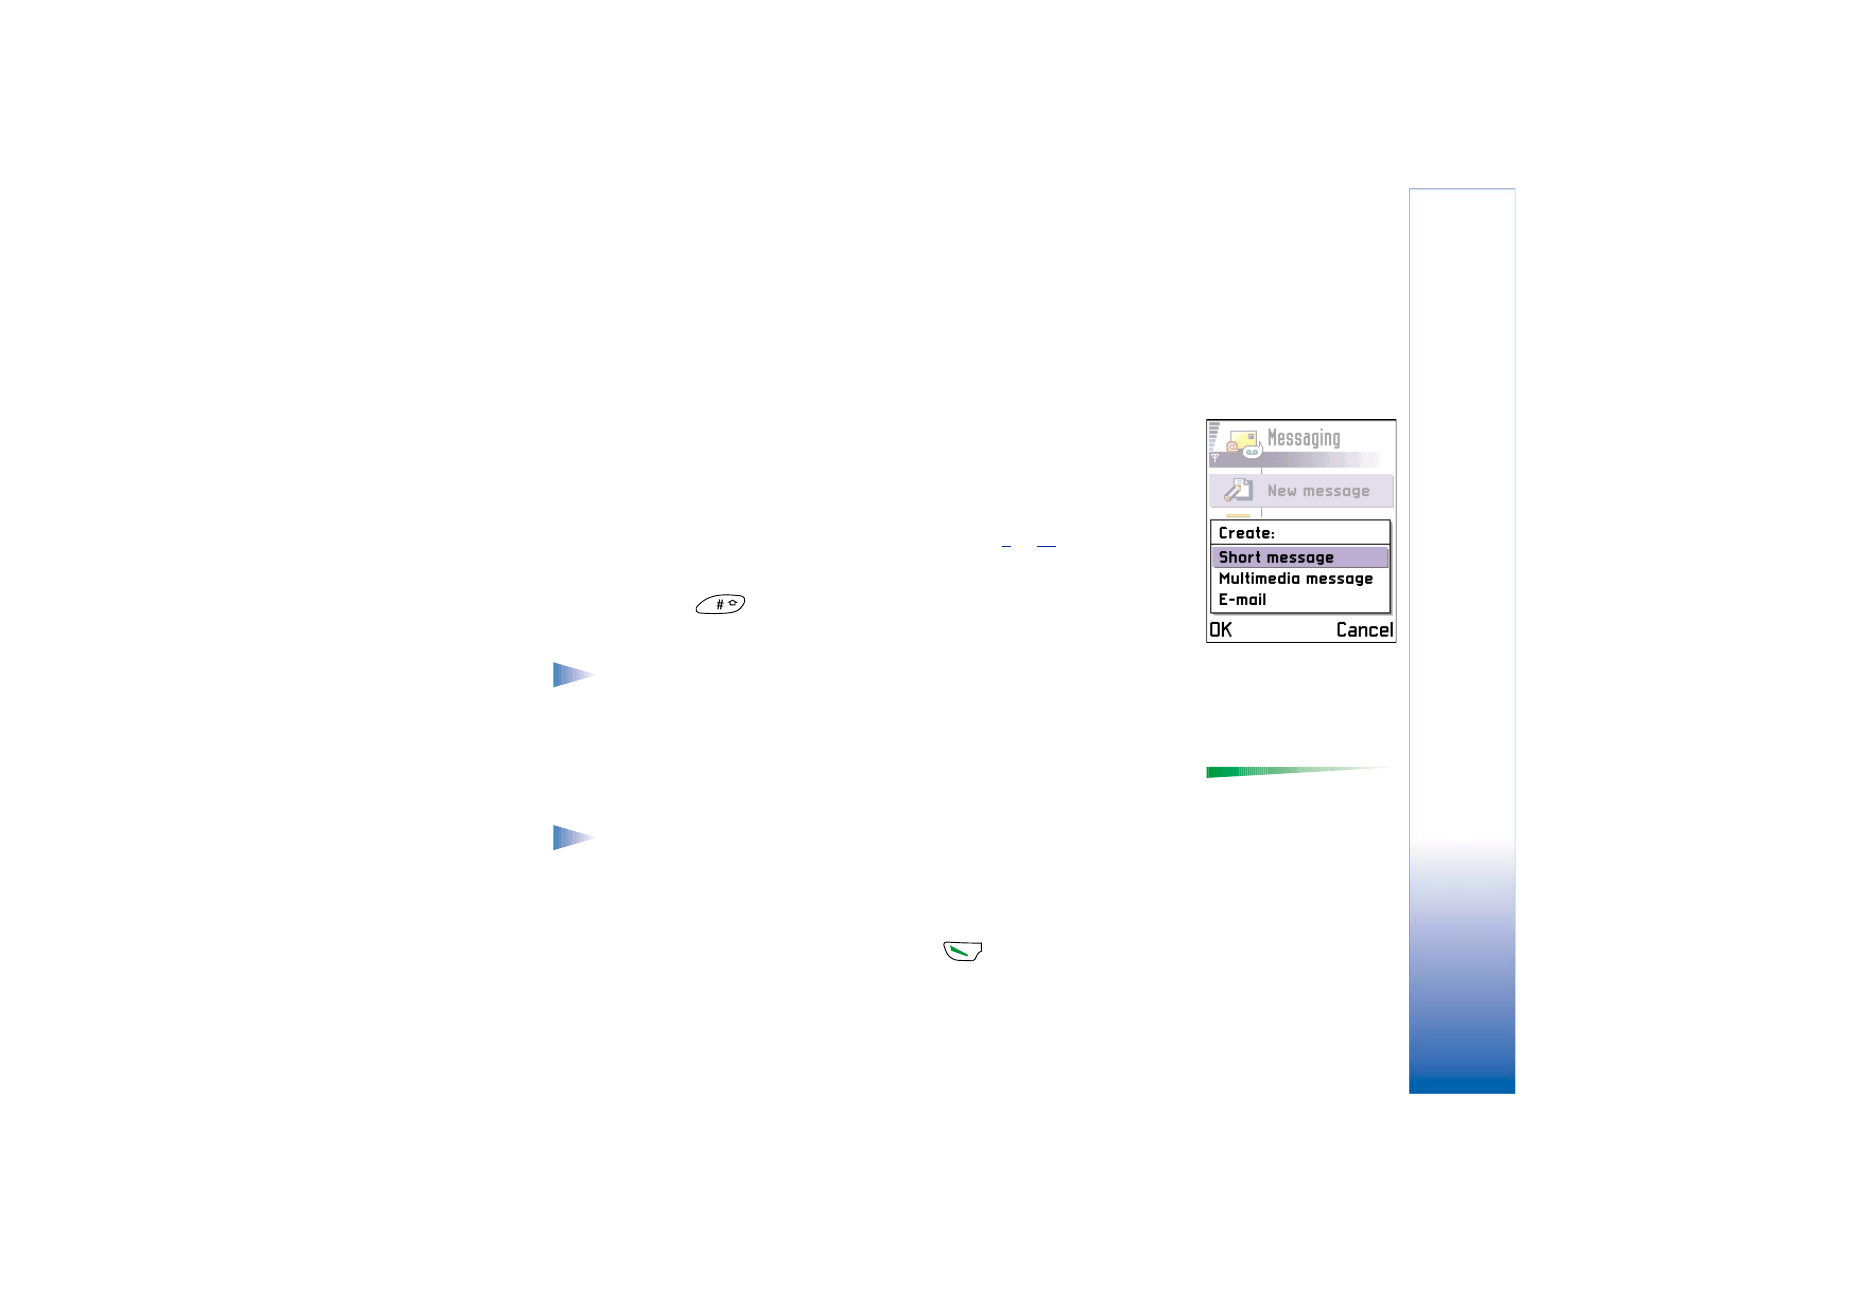
1 Select
New message
. A list of message options opens. See Fig.
2
, p.
65
.
2 Select
Create:
Short message
. The editor opens with the cursor in the
To:
field. Press the
joystick to select recipient(s) from the Contacts directory or write the phone number of
the recipient. Press
to add a semicolon (;) to separate each recipient. Move the
joystick down to move to the message field.
3 Write the message.
Note: Your phone supports sending of multiple short messages at the same time,
therefore, the normal 160 characters limit for one short message can be
exceeded. If your text exceeds 160 characters, it will be sent in two or more
messages and message sending may cost you more.
Options in the short
message editor:
Send
,
Add
recipient
,
Insert
,
Delete
,
Message details
,
Sending
options
, and
Exit
.
In the navigation bar, you can see the message length indicator counting backwards
from 160. For example, 10 (2) means that you can still add 10 characters for the text
to be sent as two messages.
Note: Using special (Unicode) characters such as ë, â, á, ì takes up more space.
If you are using special characters in your message the indicator may not show
the message length correctly. Before the message is sent, the phone tells you if
the message exceeds the maximum length allowed for one message. You can
cancel sending by pressing
Cancel
.
4 To send the message, select
Options
→
Send
or press
.
Fig. 2 Creating a
message, message
types.
Copyright © 2002 Nokia. All rights reserved.
Messaging
66
Sending smart messages
Tip! You can also
receive ringing tones,
operator logos, or settings
from service providers,
see p.
73
.
Smart messages are special short messages that can contain data. You can send smart
messages such as:
• picture messages,
• business cards containing contact information in generic (vCard) format, or
• Calendar notes (vCalendar format).
For more information, see ‘Sending contact information’, p.
48
and ‘Sending calendar
entries’, p.
94
.
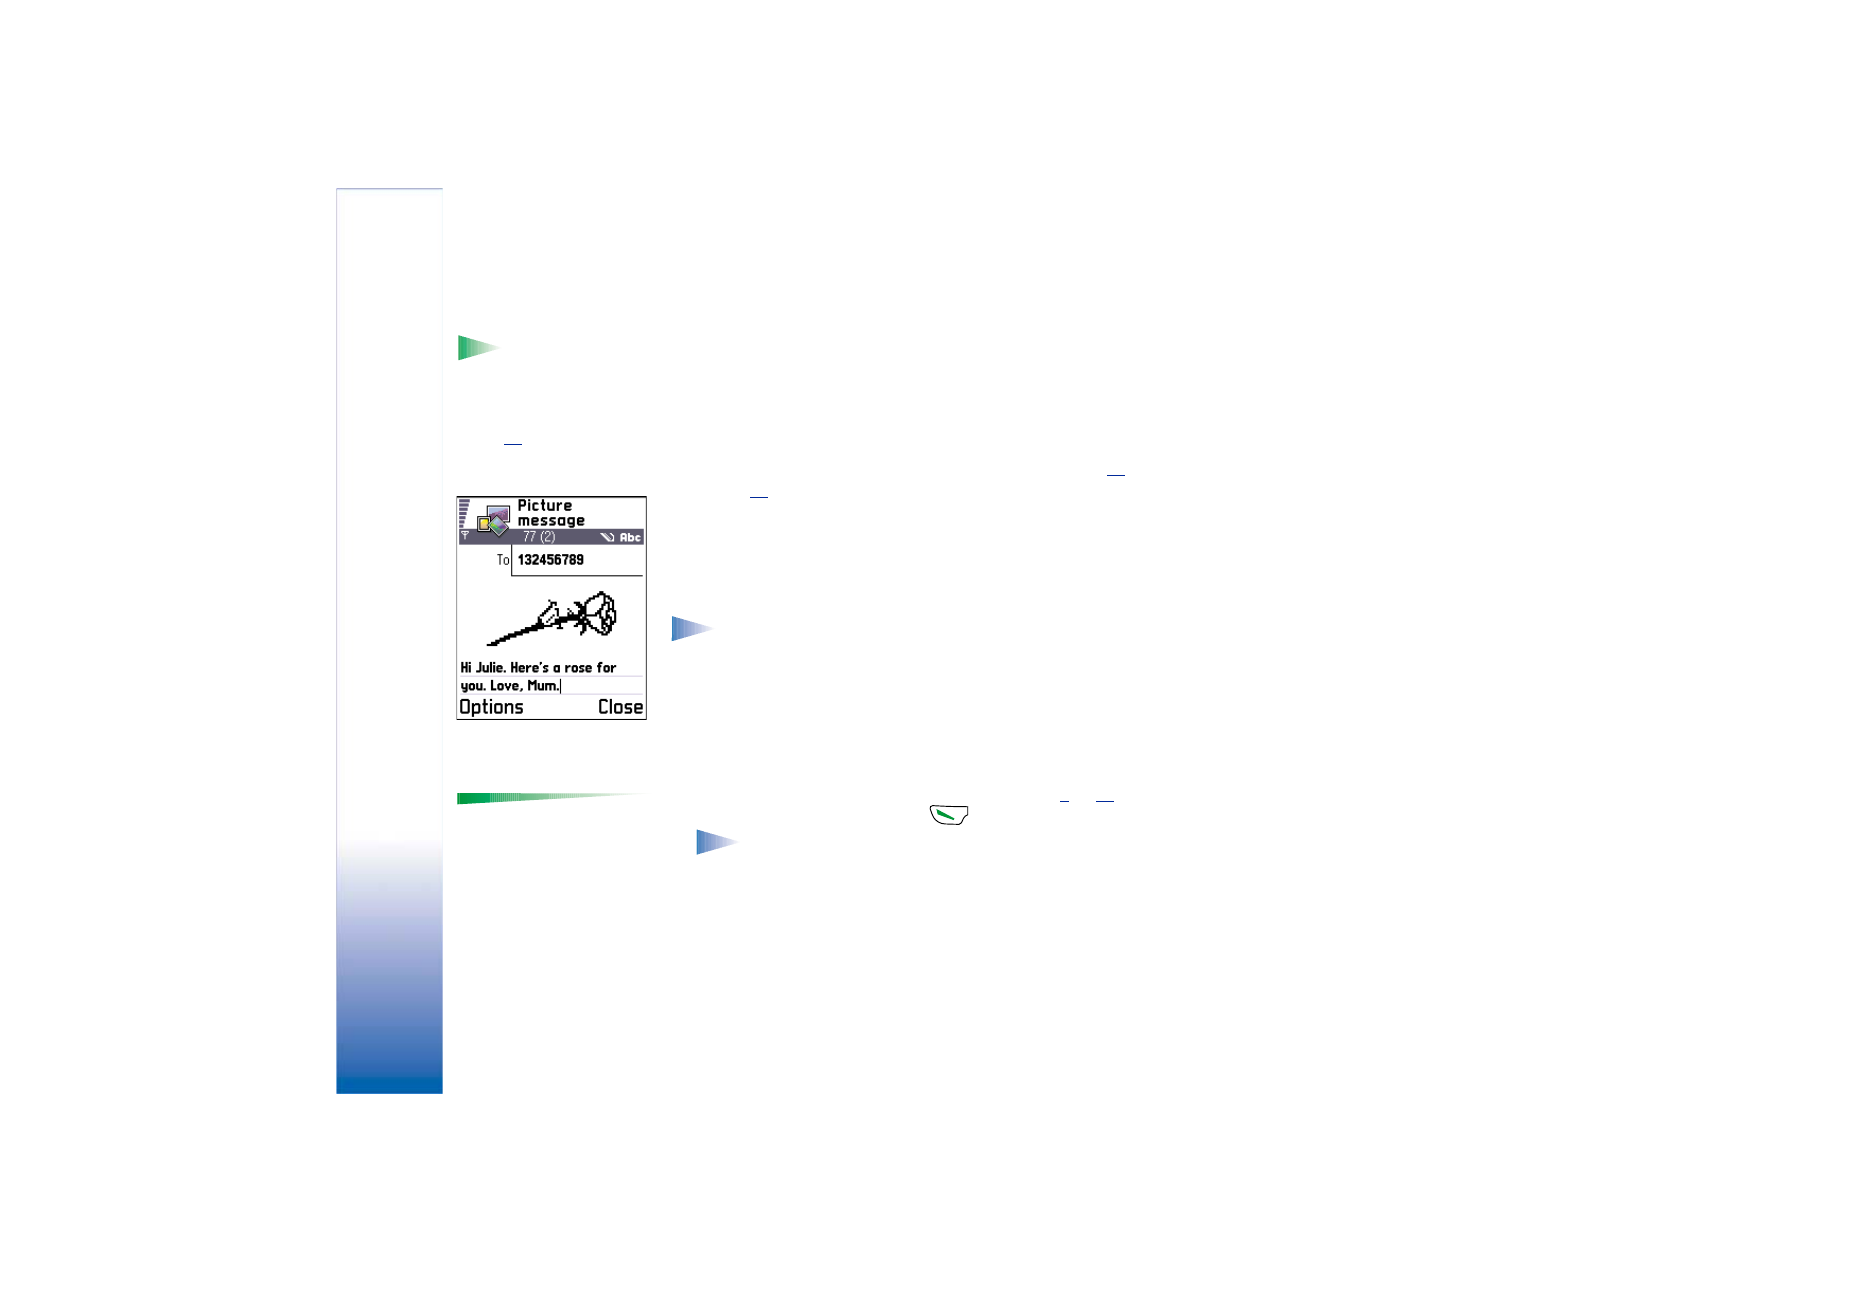
Creating and sending picture messages
Your phone allows you to send and receive picture messages. Picture messages are short
messages that contain small black-and-white graphics. There are several default pictures
available in the
Picture msgs.
folder in
Images
.
Note: This function can be used only if it is supported by your network operator or
service provider. Only phones that offer picture message features can receive and
display picture messages.
To send a picture message:
1 There are two possibilities, either:
• Go to
Images
→
Picture msgs.
and select a picture to be sent. Select
Options
→
Send
, or
• Select
Messaging
→
New message
→
Create:
Short message
and select
Insert
→
Picture
.
Options in the picture
message editor:
Send
,
Add
recipient
,
Insert
,
Remove
picture
,
Delete
,
Message
details
, and
Exit
.
2 Enter recipient information and add text. See Fig.
3
, p.
66
.
3 Select
Options
→
Send
or press
.
Note: Each picture message is made up of several short messages. Therefore,
sending one picture message may cost more than sending one short message.